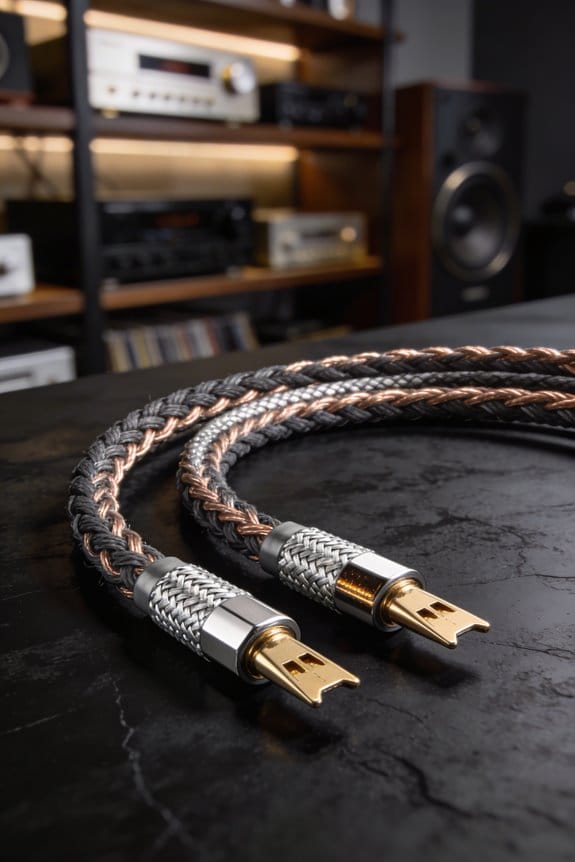
I start by measuring the round‑trip length of my speaker runs, double the one‑way distance, then use the 5 % power‑loss rule: keep voltage drop under 5 % of the amp’s output so the bass stays tight and the treble stays clear. I calculate the current with I = √(P·R) (e.g., 100 W into 8 Ω ≈ 3.5 A) and apply Ohm’s law to find the max resistance (≈0.2 Ω for 8 Ω speakers). From there I pick AWG: 16 AWG for ≤20 ft, 14 AWG for 20‑50 ft, 12 AWG for >50 ft, and jump to 10 AWG for very long or high‑power runs. If my wire is copper‑clad aluminum I treat it like a thicker copper gauge. A quick power‑loss calculator confirms I’m under the 5 % threshold—keep reading for the exact formulas and tips to avoid common wiring mistakes.
Key Takeaways
- Measure the round‑trip length of the speaker wire (one‑way distance × 2).
- Determine speaker impedance (4 Ω, 6 Ω, 8 Ω) and desired power to calculate current (I = √(P⁄R)).
- Use the 5 % voltage‑drop rule: allowable resistance = 0.05 × (V ÷ I).
- Choose the AWG that keeps total round‑trip resistance below that limit; reference charts for distance, impedance, and gauge.
- Verify actual resistance with a multimeter and adjust gauge or length if the measured value exceeds the 5 % threshold.
Learn Why the 5 % Power‑Loss Rule Matters for Speaker Wire Gauge
Ever noticed how a thin speaker wire can make your favorite tracks sound flat?
If you keep the voltage drop under 5 % of the amp’s output, the sound stays punchy and the amp stays cool, because the wire’s resistance won’t sap too much power.
Frankly, that 5 % rule matters because it protects what you hear; a drop larger than that brings in muffled highs and weak bass, ruining the listening experience. It also lets you pick a thinner gauge for short runs, keeping cables hidden or neatly routed while still hitting performance goals.
Worth knowing: for a 30‑foot run to an 8‑Ω speaker, 16 AWG stays under the limit, delivering less than 2 % loss, so you avoid bulky 12 AWG that would look clunky.
Here’s the trick: measure the length of your run, then check a simple chart for the right gauge. If you’re under the 5 % threshold, you’ll get a balanced sound, a cooler amp, and a tidy room.

Try this: use a quick online calculator to see how much voltage drop you get with different gauges. You’ll be surprised how a small change can keep your system humming nicely.
So, next time you shop for speaker wire, remember the 5 % rule—your ears will thank you.
Ready to give your setup a clean, powerful boost?
Determine Speaker Impedance and How It Drives Gauge Choice
Ever tried to hook up a new speaker and kept wondering why the wire gauge matters so much? You’re not alone—most people think any wire will do, but the impedance of your driver is the real driver behind the right gauge.
When you look at a speaker’s impedance—usually 4 Ω, 6 Ω, or 8 Ω—you’re really seeing how much current the amp will have to push, and that directly dictates the wire gauge you need; a lower‑impedance driver draws more amps, so a thicker gauge (14 AWG or even 12 AWG) keeps resistance low and prevents the dreaded 5 % power‑loss ceiling from being breached, whereas an 8‑Ω speaker can comfortably run on 16 AWG up to about 48 ft before the voltage drop climbs past the safe limit, meaning you can save space and cost without sacrificing punch or clarity.
Frankly, I start with impedance mapping, noting that a 4‑Ω cabinet coupling often shows a tighter frequency response curve but also higher thermal effects, so I bump the gauge up to 12 AWG for runs over 30 ft. For 6‑Ω units I settle on 14 AWG, balancing current draw and heat, while 8‑Ω speakers stay at 16 AWG, keeping the line cool and the sound tight. This practical approach lets you match gauge to real‑world power loss.
Worth knowing:
- 4 Ω speakers → 12 AWG for >30 ft, 14 AWG for shorter runs.
- 6 Ω speakers → 14 AWG up to about 40 ft.
- 8 Ω speakers → 16 AWG up to 48 ft, then step up if you go longer.

If you’ve ever noticed a hiss or a drop in volume after a long cable run, it’s probably the wire resisting the current. Swapping to a thicker gauge can clear that up without any fancy gear.
Give it a try and see how your system feels. Ready to upgrade your wiring?
Calculate the Current Your Amplifier Needs for Each Speaker
Ever wonder why your amp gets hot when you drop the speaker’s impedance? It’s not magic—it’s just physics. You start with the RMS power rating, say 100 W per channel, and use the formula I = √(P × R). For an 8‑ohm speaker that works out to about 28 A; a 4‑ohm load pushes it up to roughly 40 A. That means the current draw doubles when you halve the impedance, so you’ve got to watch the wiring and the amp’s cooling.
Fair warning: higher current means more heat, and if the cooling system can’t keep up, the wire can become a bottleneck. Voltage drop shows up as distortion, and you’ll hear it in the music. That’s why matching impedance matters—’t’ll keep the amp from overheating and your sound clean.
Worth knowing: check the amp’s thermal management specs before you install anything. Look for a good heatsink, proper ventilation, and maybe a fan that runs when the amp gets hot. If the amp can’t shed heat fast enough, you’ll end up with a noisy, unreliable system.
Here’s the trick: when you’re picking a speaker, don’t just look at the power rating. Look at the impedance, too, and make sure your amp can handle the current. If you’re stuck with a low‑impedance speaker, consider a larger gauge wire to reduce voltage drop.
If you ever notice your amp getting unusually warm, pause and double‑check the impedance and the cooling setup. A little extra care now can save you from a costly repair later.

Got any tips of your own for keeping amps cool? Share them below.
Use Ohm’s Law to Check the Maximum Allowable Wire Resistance

Ever wondered why your favorite tunes suddenly sound thin when your speaker cables get a bit longer? The culprit is often a tiny voltage drop caused by the wire’s resistance, and it can sneak up on you fast. By using Ohm’s Law, you can figure out the exact resistance you can afford before you hit that dreaded 5 % power‑loss limit.
First, grab the speaker’s RMS power and impedance. Plug those numbers into the formula P ÷ V² to get the maximum allowable resistance. Compare that figure with the resistance you calculate from the wire’s length and gauge. If the real resistance tops the limit, you’ll notice a voltage dip, which can heat the wire and mute your sound.
Here’s the trick: measure each conductor with a simple multimeter, then add the two readings together for the round‑trip resistance. For a typical 8‑Ω speaker, staying under about 0.2 Ω keeps everything running smooth and safe.
- Check the numbers – Write down the speaker’s power and impedance, then do the quick math.
- Measure the wire – Use a multimeter, test each side, and sum the results.
If you find the resistance is higher than the tolerance, consider swapping to a thicker gauge or shortening the run. That small change can make a big difference in sound quality and reliability.
Try this: after you’ve measured, compare the total resistance to the 0.2 Ω ceiling. If you’re over, replace the cable before the next gig or listening session.
Keeping the wire resistance low isn’t rocket science, but it does protect your gear and your ears. Have you checked your speaker cables lately?
Pick the Right AWG by Distance & Impedance (16, 14, 12, 10)

Ever tried to keep your music sounding full while saving a few bucks on speaker wire?
Pick the right AWG by distance and impedance, and you’ll keep your music sounding full without wasting money on over‑engineered cable. I start with 16 AWG for runs under 20 ft with 8‑ohm speakers, because its low resistance keeps voltage drop under 5 % and the thin strand saves space, while still offering bi‑wire benefits for separate tweeter and woofer paths.
Between 20 and 50 ft I bump to 14 AWG, which reduces loss for 6‑ohm or 4‑ohm loads, meaning louder bass and tighter mids, and its slightly larger diameter looks sturdier for aesthetic choices in visible runs.
For anything over 50 ft I recommend 12 AWG, and for 100 ft plus 10 AWG, ensuring the line can handle higher current without heating, preserving clarity and preventing dullness even at high volumes.
Frankly, the rule of thumb is simple: the longer the run, the thicker the wire.
Worth knowing:
- 16 AWG works great up to 20 ft, especially with 8‑ohm speakers.
- 14 AWG is a solid middle ground for 20‑50 ft and lower‑impedance loads.
- 12 AWG or 10 AWG takes care of long runs and high‑power setups.
If you’re wiring a home theater or a multi‑room system, keep the longest distance in mind first, then pick the gauge that matches the speaker’s impedance.
Try this: measure your run, note the speaker’s ohms, and then follow the chart above. It’s a quick way to avoid thin, muffled sound without over‑paying.
Do you think a thicker cable will always sound better? Probably not—matching gauge to distance and impedance does the trick.
Give it a go and let us know how it changes your listening experience.
Calculate the Full Length of Your Speaker Wire (Round‑Trip)
Ever wondered why your music sounds flat even though you’ve got a solid amp? The trick is that the speaker wire has to go to the driver and back to the amp, so you always calculate the round‑trip length, not just the one‑way distance. That means you double the measured run— a 30‑foot run to the left‑hand speaker becomes a 60‑foot total circuit, and that extra length directly adds to the wire’s resistance, which in turn decides how much voltage drop you’ll see at the speaker terminals.
Start by sketching the room layout, noting where the amp sits, then trace the path around furniture, measuring each segment with a tape or laser rangefinder. Add up the total feet, double it, and then subtract any slack you’ll need for bends. Keeping the final round‑trip number precise makes sure the gauge you pick matches the real resistance, so your bass stays tight and your treble stays clear.
Worth knowing:
- Measure each straight‑line segment separately.
- Use a tape measure for short runs and a laser rangefinder for longer distances.
Try this:
- Sketch a quick floor plan on a napkin.
- Mark the amp, the speakers, and any obstacles.
- Follow the line with a tape measure, noting every turn.
After you’ve got the one‑way distance, double it, then factor in a little extra for bends. This simple habit helps you avoid under‑estimating resistance, which can mute your low end and muddy your highs.
Fair warning: Cutting corners on length can make your system sound dull, even if you’ve chosen a high‑quality cable.
Got a favorite speaker‑wire brand that works for you? Let us know!
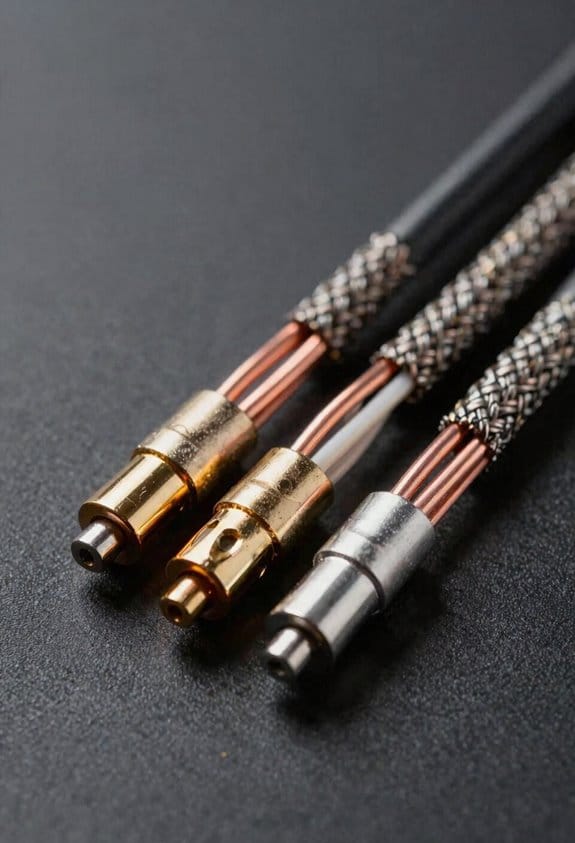
What to Do If Your Wire Is Copper‑Clad Aluminum or Another Material
If you find out your speaker cable is copper‑clad aluminum (CCA) or some other alloy, you’ll see the resistance is about 30 % higher than pure copper at the same gauge. That means a 16 AWG CCA run behaves like a 14 AWG copper line, so you lose a few extra watts over a 50‑foot round‑trip and the bass can feel a bit loose.
Frankly, the easiest fix is to swap to solid copper or at least copper‑clad steel if you can. A thicker gauge makes up for the extra loss; a 14 AWG copper run brings the loss back under 5 % for 50‑foot runs.
Watch out for skinny conductors that heat up faster, especially when the power peaks. Thermal expansion can loosen connections over time, so use secure terminals and avoid tight bends that stress the alloy.
Try this: if you have to keep the CCA, upgrade to 12 AWG. That will keep the voltage drop negligible and help the sound stay tight.
- Use solid copper or copper‑clad steel whenever possible.
- Choose a thicker gauge to offset higher resistance.
If you follow these steps, you’ll notice a tighter, more reliable sound without the extra heat or loose connections. Ready to give your system the upgrade it deserves?
Validate Your Gauge Choice With a Simple Power‑Loss Calculator
Ever tried to figure out if your speaker wire will keep the sound clean without guessing? Plugging your specs into a simple power‑loss calculator makes it easy. The tool instantly turns distance, impedance, and wattage into a real resistance number, so you can see if a 16 AWG run stays under the 5 % loss limit or if you need to jump to 14 AWG.
For a 30‑foot run to an 8‑Ω speaker at 100 W RMS, the calculator shows about 0.07 Ω total resistance, dropping the voltage by roughly 0.35 V and keeping power loss near 2 %. Switching to 12 AWG cuts the resistance to 0.04 Ω, shaving the loss to under 1 % and giving tighter bass and cooler cables.
I also check signal phase alignment because too much resistance can skew phase and muddy imaging. And I keep an eye on thermal noise—lower resistance means less heat and less hiss.
Try this:
- 45‑foot 14 AWG run to a 4‑Ω speaker at 150 W stays under 5 % loss, confirming the choice without guesswork.
- A 60‑foot 16 AWG run to a 6‑Ω speaker at 80 W pushes the loss just over 5 %, so bumping to 14 AWG is the safe move.
Frankly, the calculator quickly shows whether you’re within safe limits, so you can avoid trial‑and‑error.
Give it a go and see how much easier wiring decisions become. Ready to try it on your own setup?
Avoid Common Speaker‑Wire Mistakes in Your Home Audio Setup
Ever noticed how a tiny kink in a speaker wire can mute your bass? That’s the kind of thing that turns a good night of music into a frustrating one. After you’ve checked that your loss stays under 5 % with the calculator, it’s time to avoid the everyday wiring blunders that can trash your sound.
First, think about placement. Keep runs short, straight, and far from power cords. A 2‑foot kink can add about 0.1 Ω, and that’s enough to dull the low end. I always route cables along the wall, away from any AC lines, so you won’t pick up that annoying hum.
Next, watch the material. Cheap copper‑clad aluminum may look fine, but its higher resistance turns a 16 AWG run into something like a 20‑AWG. On a 30‑foot, 4‑ohm run that means a 30 % loss jump. Stick with solid copper for reliable performance.
Try this: wrap your cables in aesthetic covers. It isn’t just for looks; the covers protect against nicks that can raise resistance. When you get to the connectors, make sure you solder them properly. A loose splice can cause clicks louder than a movie climax.
Fair warning: a bad connection can also be a safety hazard. Double‑check that each splice is tight and that no exposed wire is left hanging. A solid joint keeps your system safe and your sound clean.
Finally, a quick visual check goes a long way. Look for any sharp bends, frayed insulation, or loose plugs before you fire up the amp. A tidy setup isn’t just nice to see—it helps keep the signal path clear.
Got any other wiring tips that saved you from a bad night of listening? Share them below!
Frequently Asked Questions
Can I Use Speaker Wire With a Different Gauge for Each Channel?
I’ll say yes, but using mixed gauges can unbalance channel balancing, so I stick to the same gauge for each speaker to keep resistance, power loss, and sound consistency identical.
Do Speaker Wire Color Codes Affect Performance?
I tell you the colors don’t change the signal’s soul; they’re just aesthetic choices. Color conventions help you stay organized, but they never affect performance, resistance, or sound quality.
How Does Temperature Affect Speaker Wire Resistance?
I tell you temperature raises resistance because copper’s temperature coefficient means ambient heating adds ohmic loss; the hotter the wire, the more voltage drops, so longer runs need thicker gauge to stay within limits.
Is It Safe to Splice Speaker Wire With Connectors?
I think splicing is safe if you use proper butt connectors or screw terminals, tighten them firmly, and avoid loose strands; otherwise you risk resistance spikes and intermittent sound.
Will Using a Longer Cable Than Needed Degrade Sound Quality?
I’ll tell you outright: a longer cable can thin your sound, especially if you ignore tube amp compatibility and impedance mismatch effects, because extra resistance subtly dulls dynamics and clarity.