I love flexible speaker cable because its low‑stiffness jacket lets me snake 14 AWG, 60‑ft runs through 2‑in. conduit or tight studs without kinks, keeping resistance under 0.2 Ω for a 4‑Ω woofer, which preserves amp voltage swing and avoids overheating. The thin, lightweight jacket expands only a hair with heat, so the conduit stays snug and the wall stays flat. Stripped insulation slides off cleanly, cutting stray strands and easing terminations, while CL‑rated insulation meets code and survives amp spikes. If you keep reading, you’ll see how gauge, length, and connectors tie into a pro‑grade install.
Key Takeaways
- Flexible jackets slide through tight studs and conduit without kinking, reducing installation time and cable damage.
- Low‑stiffness jackets allow smooth pulling around 90° corners, preserving conductor integrity and preventing overheating.
- Flexible cables maintain low resistance in long runs, ensuring full power delivery and consistent sound quality.
- They enable easy use of fish‑tape and secure knot attachments, simplifying in‑wall routing and minimizing re‑work.
- Compliance with CL‑rated, heat‑resistant insulation ensures code‑approved, safe installations for high‑power setups.
Why Flexible Speaker Cable Makes In‑Wall Routing Easy
Ever tried to pull a speaker cable through a wall and got stuck on a stud or a sharp turn? It’s frustrating when the wire kinks, and you end up with a mess of damaged copper.
Because flexible speaker cable bends without kinking, you can slide it through tight studs and drywall cavities without fighting the material. A 14 AWG run that’s 60 ft long slides through a 2‑in. conduit as easily as a garden hose. The low‑stiffness lets you fish it around a 90° corner with a fish tape, preventing damage and keeping the copper intact, which means less resistance and fewer signal losses.
Here’s the trick: the lightweight jacket expands only a hair with thermal expansion, so the conduit stays snug and the wall stays flat, preserving the look you want. When you terminate the ends, the stripped insulation slides off cleanly, making connections quick and reducing the chance of stray strands that could short out.
Frankly, flexibility equals speed, safety, and a tidy look.
- No need to force the cable; let it glide.
- Fewer kinks mean a longer lifespan for your speakers.
Try this: pull the cable with a fish tape while keeping a gentle tension—don’t yank.

If you’ve ever wrestled with a stiff wire, you’ll notice the difference right away.
What’s the biggest wall‑routing challenge you’ve faced?
Cable Length & Power Limits for Flexible Speaker Cable

Ever tried to pull speaker cable through a wall and then wondered how far you can actually run it before the power drops?
You’ll find that the gauge you pick matters a lot, especially when you’re dealing with longer runs.
What to keep in mind
- 16‑AWG flexible wire can handle about 50 W on a 4‑Ω speaker up to roughly 50 ft.
- Anything longer than that, you’ll want to step up to 14‑AWG or thicker.
- A tighter bend radius can raise temperature, so keep the cable flat and supported.
Frankly, if you push 600 W through a 1.5 mm² (≈14‑AWG) run, you’ll see about a 10 % power‑derating after 15 m. That’s why matching impedance and checking the total loop length are key steps.
Why gauge matters
When the resistance gets too high, the amp works harder, heat builds up, and you can hear distortion. Picking the next gauge up gives you a safety margin and helps the amp stay happy.
Worth knowing: a little extra slack in the cable can make a big difference in heat management.
Practical steps
- Measure the total distance from amp to speaker and back.
- Choose a gauge that’s one step larger than the minimum you calculated.
- Avoid sharp bends; if you must bend, do it gently and support the cable.
If you follow these tips, you’ll avoid surprise melt‑downs and keep your sound solid.
Got any other wiring tricks that worked for you?
Maintaining Signal Integrity With Flexible Speaker Cable

Ever tried to crank the volume and notice the sound getting mushy or the amp getting hot? That’s usually a sign the speaker cable isn’t doing its job. Using the right flexible cable keeps resistance low, so your amp can push full power without overheating. The result? Clean, distortion‑free sound even at high volumes.
Frankly, I always double‑check impedance before I cut any run. A 16‑gauge, 50‑foot line on a 4‑Ω load stays within about 0.2 Ω, which preserves the amp’s voltage swing and prevents sag. The stranded conductors keep phase across across the pair, so the tweeter and woofer fire together, giving you tight bass and crisp highs.
Worth knowing: when you route a 20‑foot stretch through a wall, go for 14 AWG‑rated cable. The extra copper cuts loss to under 1 % and keeps the signal’s waveform intact. In practice, that means your music sounds just as the artist intended—no mushy mids.
- Choose a cable gauge that matches your run length and speaker load.
- Keep the cable as short as practical to reduce resistance.
- Use stranded conductors for better flexibility and consistent phase.
If you ever wonder why a cheap, thin cable sounds flat, it’s because the resistance adds up and the amp can’t maintain its voltage swing. Switching to a properly sized, flexible cable fixes that, and you’ll hear the difference right away.
Next time you set up a system, take a minute to measure the run length and match the gauge. Your ears will thank you, and the amp will stay cool under pressure. Ready to give your sound a boost?
Choosing Wiring Configurations for Flexible Speaker Cable

Ever tried to set up a home theater and got stuck choosing between a 4‑conductor and a 2‑wire cable? The choice can feel like a tiny detail, but it actually shapes how clean your sound will be and how tidy your wiring looks.
A 4‑conductor lets you bi‑wire or bi‑amp without adding extra runs, so you can send separate signals to a tweeter and a woofer while keeping the bundle neat. That means better control over bass‑to‑treble balance and less chance of signal loss. A 2‑wire setup is simpler and works fine for single‑amp systems, but you’re stuck with one signal path per speaker, which can mute that extra punch you might want.
Frankly, I start with a 13‑AWG 4‑core for bi‑amp because the thicker gauge cuts resistance and helps the amp see each driver’s load correctly. For short runs under 30 ft, a 16‑AWG 2‑wire works fine—just double‑check the total loop resistance stays below 0.05 Ω to keep power loss under 2 %. If you have a 4‑ohm woofer pulling 100 W, bump up to 12‑AWG to avoid overheating and keep dynamics clean.
Worth knowing:
- Match the cable’s gauge to the speaker’s impedance.
- Keep the loop resistance low to prevent power loss.
- Use 4‑core for separate driver control, 2‑wire for simple setups.
If you’re wiring a live‑sound rig, the same rules apply: thicker gauge for longer runs, and keep an eye on resistance. The goal is a clean signal and a reliable setup without extra clutter.
What’s the one thing you’ve learned about speaker wiring that saved you time?
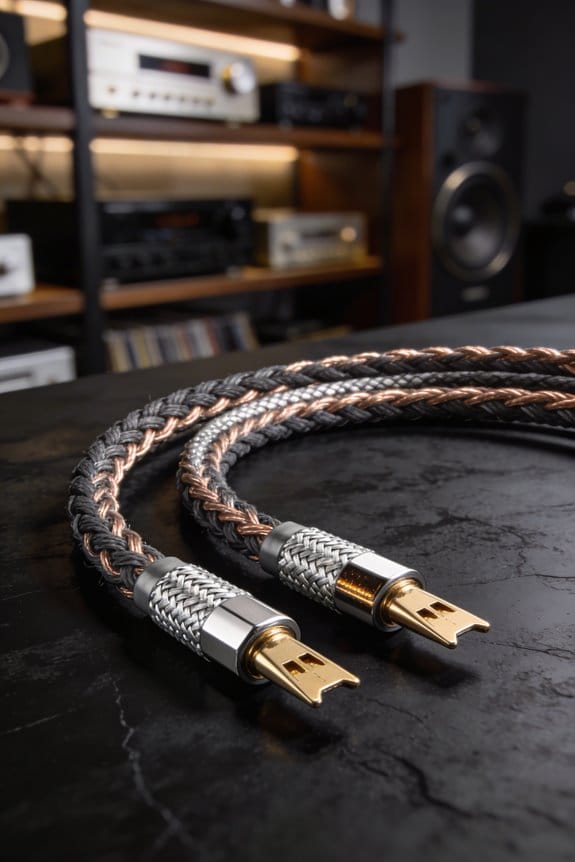
Best Connectors for Flexible Speaker Cable

Ever tried to keep a flexible speaker cable from turning into a tangled mess while still getting solid power? I’ve been there, and the right connector can make all the difference.
A solid connector is the bridge that turns a flexible cable’s low‑profile bendability into reliable power delivery. So I always start by checking the current rating—Neutrik Speakon 4‑pin handles up to 30 A at 600 V, which means it won’t overheat even on a 12‑AWG run feeding a 4‑Ω speaker at 200 W. Its locking latch prevents accidental unplugging during a live show, and the strain relief keeps the tone tight on long runs.
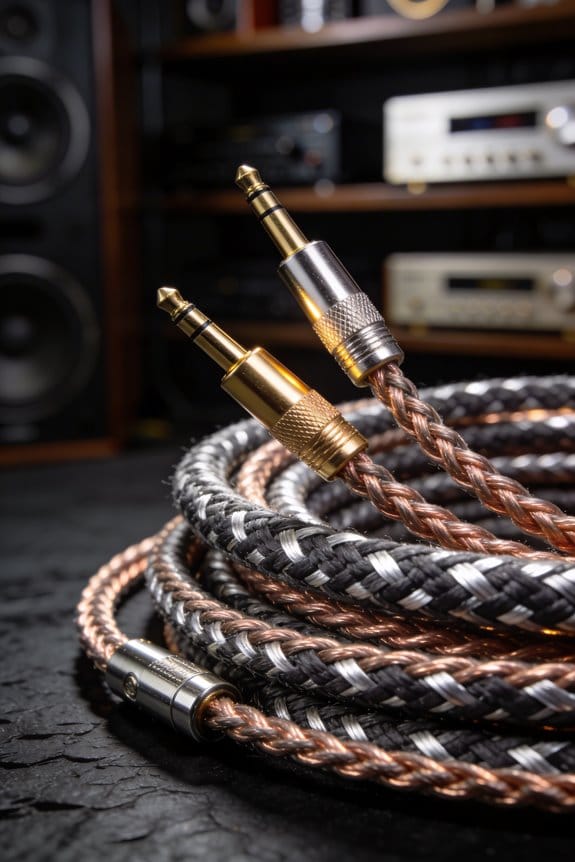
If you’re looking for quick swaps at home, a banana‑plug pair rated at 15 A/250 V does the job. You’ll just need a snug screw‑tightening to avoid intermittent clicks. I’ve found quick‑release spade clips give the same speed without the screw, which is handy when you’re tweaking a home‑theater setup.
For a pro‑audio rack, an XLR‑compatible 2‑pin connector with 0.5 mm² contacts gives you a clean, polarized link. It resists polarity reversal, so you get consistent phase and no surprise hums when you flip the cable.
Worth knowing:
- Neutrik Speakon 4‑pin: 30 A, 600 V, lock latch, strong strain relief.
- Banana‑plug pair: 15 A, 250 V, easy swap, screw‑tighten for stability.
Frankly, the best choice depends on where you’re using the cable. A Speakon is great for stage rigs, while banana plugs shine in a living room. Just keep an eye on the current rating and make sure the connector’s lock or screw stays tight.
Try this: test the connector under load before the big gig. A quick check can save you from a noisy surprise later.
Got a favorite connector you swear by? Let me know how it’s working for you.
Professional‑Grade Specs for Flexible Speaker Cable
Ever tried to run a 600‑watt speaker setup through a cramped wall and watched the cable melt or sag? That’s the nightmare most DIYers face when they skip the basics.
I’ve learned that a professional‑grade flexible speaker cable has to hit three hard‑nosed specs before it can survive a live‑show rig or a high‑end home theater: CL‑rated insulation for in‑wall code compliance, a minimum conductor gauge that keeps resistance low enough to avoid overheating, and a durable outer jacket that won’t crack when you pull it through tight conduit.
Frankly, the first thing you want is a conductor size that won’t heat up. I go for 14 AWG or larger for 600‑watt runs, which keeps voltage drop under 2 % over 15 m. That low resistance means the amp spikes won’t fry the cable or your speakers.
Worth knowing: the insulation needs to be heat‑resistant, so the jacket doesn’t melt when those spikes happen. Look for CL‑rated material; it’s what keeps the installation legal and safe.
The outer jacket is the last line of defense. Most good cables use PVC or low‑smoke, halogen‑free jackets that resist abrasion and flex‑fatigue. That lets you fish the cable through studs or tight conduit without worrying about cracks later on.
In practice, these specs translate to reliable power delivery, safe installations, and fewer service calls.
- CL‑rated insulation for code compliance
- Minimum 14 AWG conductor for low resistance
- Heat‑resistant, low‑smoke outer jacket
You’ll notice fewer hiccups during gigs or movie nights, and you won’t have to replace the cable every few months.
Give it a try on your next build and see how much smoother everything runs.
Ready to upgrade your setup without the hassle?
Quick Checklist: Installing Flexible Speaker Cable in Walls
Ever tried pulling a flexible speaker cable through a wall and felt like you were threading a needle in a haystack? It can be a pain, but a little prep makes it easy. First, measure the total run length. Then pick a CL‑rated 14 AWG (or larger) wire so the resistance stays under a 2 % voltage drop for a 600‑watt, 15‑meter setup. That way the amp won’t overheat and the speakers stay crisp.
Next, cut a clean ¾‑inch opening in the drywall. Feed a fish tape through, attach the cable with a secure knot, and pull it gently to avoid kinking. The low‑stiffness jacket helps prevent damage while you snake the cable around studs. After the run is in place, verify polarity with the colored conductors before clipping on a Neutrik Speakon. That keeps the connection solid and code‑compliant.
Frankly, I always leave at least 2 inches of firewall clearance. Then tuck acoustic padding around the cable to damp vibrations and protect the wall. This little step gives you a clean, safe install that meets code and preserves sound quality.
Try this: make a short checklist before you start—measure, cut, feed fish tape, pull, check polarity, and finish with padding. It saves you time and avoids headaches later.
If you ever wonder why the cable feels stiff, remember it’s the jacket protecting the conductors. A smooth pull means less chance of kinks, and a kink‑free run means better sound.
So, after you’ve got the cable in place, give the whole setup a quick test before you close the wall. A quick sound check catches any polarity mix‑ups early.
What’s the most surprising thing you’ve learned about wiring speakers in walls?
Frequently Asked Questions
Can Flexible Cable Be Used With Outdoor-Rated Conduit?
I’ll tell you, yes—you can run flexible cable through outdoor‑rated conduit, but make sure the sheath resists UV degradation and that you use proper conduit fittings to keep moisture out and maintain code compliance.
Is Fire‑Rated (Cl2/Cl3) Flexible Cable Required for All In‑Wall Installations?
I’ll tell you: fire‑rated (CL2/CL3) flexible cable isn’t mandatory for every in‑wall run, but code compliance usually demands it unless a specific installation exception applies, like non‑hazardous environments.
How Does Temperature Affect the Flexibility and Performance of Speaker Cable?
Ever wonder why my cables feel stiffer in summer? Temperature effects cause conductor expansion, increasing resistance and reducing flexibility, which can degrade signal integrity and make routing tougher during installations.
Can Flexible Speaker Cable Be Spliced Without Degrading Signal Integrity?
I’d say you can splice flexible speaker cable, but if the splice isn’t solid you’ll see signal loss and possible impedance mismatch, which can degrade performance and cause uneven speaker output.
What Tools Are Recommended for Stripping and Terminating Flexible Cable?
I’ll tell you straight: use a precision wire‑stripper for clean cuts, then a ferrule crimping tool for secure ends, and finish with heat‑shrink tubing to seal everything—like a snug, protective hug.