I always start by turning the breaker off, locking it with a tag, then confirming zero volts on both sides of the speaker line using a non‑contact tester—this guarantees I won’t get shocked while I strip the insulation back about 10 mm, twist the strands clockwise, and crimp a matching 16‑AWG ferrule or solder a rosin‑core joint; after the splice I slide a 13 mm heat‑shrink sleeve over it, shrink it at ~150 °C to seal out moisture, and finally check continuity and polarity with a multimeter, watching for a click and a ~4‑V drop—if you keep going, you’ll see the next steps for mounting and troubleshooting.
Key Takeaways
- Turn off power, lock the breaker, and verify zero voltage on both conductors with a non‑contact tester.
- Strip 3/8–½ inch of insulation, twist strands tightly, and inspect for damage before splicing.
- Choose a compatible splicing method (crimp, solder, or wire‑nut) and use insulated ferrules or heat‑shrink tubing for a secure joint.
- Test continuity (beep) and resistance (< 0.1 Ω) after the splice, then confirm correct polarity with a DC voltage check.
- Mount the splice inside a properly rated junction box, add double‑layer heat‑shrink protection, and ensure ventilation to prevent overheating.
Wire Splice Tutorial: Turn Off Power and Verify No Voltage
Ever tried to strip a wire only to get a nasty shock? That’s why you should always double‑check the power before you start. Flip the breaker off, then grab a non‑contact voltage tester. Hold it near each conductor and wait for the silent green light that says “zero volts.” If the light never comes on, you’ve got a live circuit—stop and fix it before you go any further.
Fair warning: a dead‑battery tester can lie. Test it first on a known live outlet so you know it’s working. Once it reads “no voltage,” label the wires, clear the area, and keep your tools organized. That way you won’t be scrambling for a screwdriver later on.
Try this: after you’ve verified the circuit is dead, give the wires a quick visual once for any signs of damage. If anything looks burnt or frayed, replace it before you splice. A clean, tidy workspace helps you stay focused and reduces the chance of a slip‑up.
Here’s the trick: use the tester on each side of the switch you just turned off. If both sides read zero, you can be confident the breaker really cut the power. It’s a small step that saves a lot of headaches.
- Turn off the breaker and lock it if you have a lockout tag.
- Use a non‑contact tester and check it on a live outlet first.
Once you’re sure the power’s gone, you can move on to stripping and splicing with peace of mind. Ready to get the job done safely?
Wire Splice Tutorial: Gather Required Tools and Safety Gear


Ever tried splicing a wire and ended up with a mess of frayed ends and loose connections? It’s frustrating, especially when you’re in a hurry and missing a key tool. Here’s a quick rundown of what you should keep in your kit so the job goes smooth.
First off, grab a pair of 8‑inch insulated wire cutters/strippers. They’ll let you trim and strip 3/8‑to‑1/2 inch sections cleanly, so you don’t get stray fibers that could short out. Next, a 10‑amp crimping tool with interchangeable dies is a must; it gives a solid mechanical bond and cuts down on resistance and heat. Add a 30 W soldering iron and some rosin‑core solder for a reliable joint, plus a 2 mm‑wall‑thick heat‑shrink tube that won’t crack when you heat it.
For safety, wear glasses and insulated gloves, and toss a dust‑mask on if you’re cutting a lot of wire. Keeping your workspace tidy helps, too. A magnetic tray holds screws and tiny parts, a small flashlight lights up dark corners, and a non‑slip mat stops tools from sliding around.
Worth knowing: a well‑stocked kit saves you from guessing what you need mid‑project. It also keeps the work moving and reduces the chance of a slip‑up that could damage your gear.
Try this: before you start, lay out each item on the tray so you can see everything at a glance. It takes a few seconds, but it saves you from hunting around later.
Frankly, the right gear makes a world of difference. You’ll finish faster, and the connections will hold up longer.
Got any favorite tools that you swear by? Let me know what works best for you.
Wire Splice Tutorial: Strip, Twist, and Prepare Wire Ends
Ever tried to splice a wire and ended up with a mess of stray strands that keep shorting out? It’s frustrating, especially when you need a solid connection that won’t wobble under vibration.

First, cut a clean edge on the wire. Pull the jacket back with a stripper, aiming for about 3/8 to 1/2 inch (9–12 mm) of exposed copper. Check the strands for any nicked bits—those can oxidize later and ruin the joint.
Worth knowing:
- Strip the insulation evenly on both ends.
- Use a pair of pliers to twist the strands clockwise until they form a tight bundle.
A tight twist keeps the fibers compact, cuts resistance, and blocks oxidation from sneaking into gaps. When you crimp or solder, the extra length gives you a solid joint that stays put even when the cable moves or heats up.
After the copper is exposed, give the bundle a firm clockwise twist. If the strands are stubborn, pliers help keep the twist neat and the contact area maximized. This step is key to a reliable splice that can handle movement and heat without slipping.
Honestly, the difference between a loose twist and a tight one shows up right away—loose fibers can cause intermittent sparks, while a solid twist holds steady.
Try this: once the twist is tight, double‑check that no stray wires are sticking out before you crimp or solder. That final check can save you from a future short circuit.
With a clean cut, proper stripping, and a firm twist, you’ll get a splice that stays strong under any condition. Got any other wire tips you swear by?
Wire Splice Tutorial: Choose and Apply the Proper Splicing Method
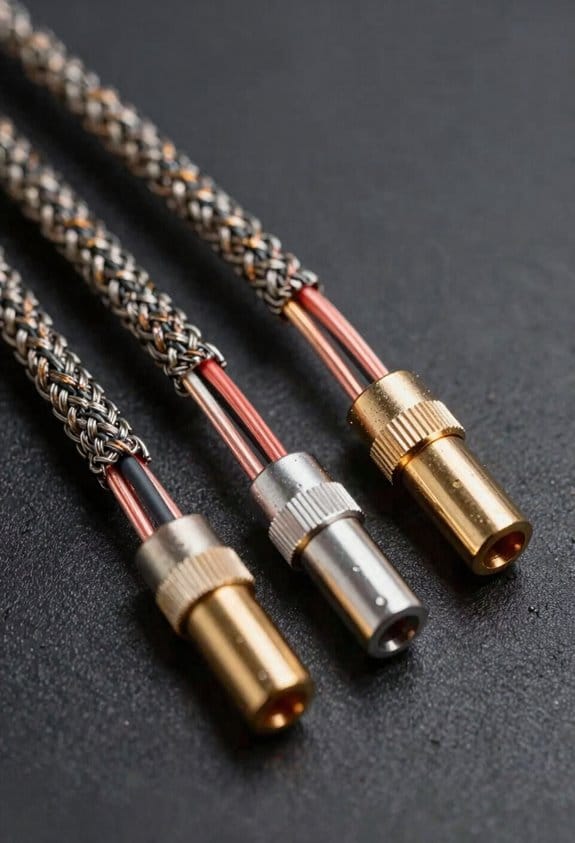

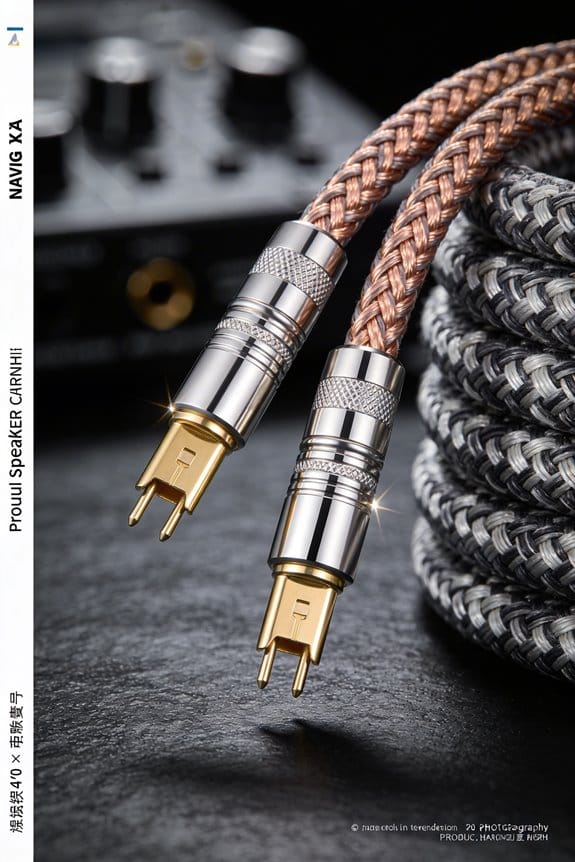
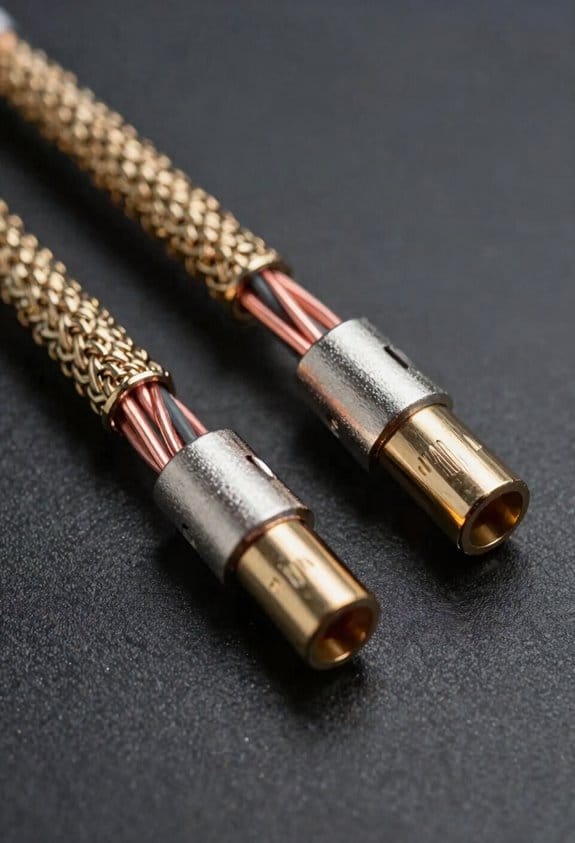
Ever tried to fix a speaker wire and ended up with a loose joint that rattles every time the bass drops? Picking the right splicing method—crimp, solder, or a wire‑nut combo—makes all the difference for how long the connection holds, how much heat it can take, and how easy it is to check later. A 3/8‑inch (9 mm) stripped length gives enough copper for a solid crimp that won’t loosen under vibration.
First, look at the wire gauge. A 16‑AWG speaker line needs a matching 16‑gauge crimp, while a 12‑AWG line does better with a larger barrel so the strands don’t get crushed. For crimping, go with insulated ferrules; they stop short‑circuits and keep the joint tidy. If you’re soldering, grab a rosin‑core alloy and a heat‑resistant connector—this keeps the joint conductive even after a few minutes of high‑power use.
When you choose a wire‑nut combo, twist the strands tightly, pop the nut in, and tighten until the metal teeth bite firmly. That bite helps stop loosening when the speaker vibrates. Each connector type—ferrule, solder lug, or nut—offers a different mix of speed, durability, and inspectability, so you can pick the right tool for the job.
Worth knowing:
- Insulated ferrules protect against shorts and look clean.
- A rosin‑core solder alloy helps the joint stay solid under heat.
Try this:
- Strip about 3/8‑inch of insulation.
- Match the crimp barrel to your wire gauge.
- Use a crimping tool that gives a tight, even squeeze.
Frankly, the easiest way to avoid a bad connection is to double‑check that the stripped length matches the barrel size before you crimp or solder. A quick visual inspection after you finish can save you from a squeaky speaker later.
Got a favorite splicing hack that’s saved you time? Let me know!
Wire Splice Tutorial: Insulate the Splice for Long‑Term Protection

Ever had a splice that looked fine at first but later turned soggy and flaky?
You can stop worrying about that by sliding a ½‑inch (13 mm) piece of heat‑shrink tubing over the stripped wires before you even touch a crimp or solder joint. The tight seal keeps moisture out and stops the copper from oxidizing, so the connection stays clear and reliable for years.
Frankly, just heat it with a 150 °C (300 °F) hot‑air gun until it shrinks uniformly. That creates a moisture barrier that blocks humidity and condensation.
Here’s the trick: add a second layer of ¾‑inch (19 mm) tubing for extra rodent protection. The tougher outer wall deters gnawing pests that could expose the splice.
The double‑layer system also adds mechanical strength, so the joint won’t flex or crack under vibration. That keeps sound quality intact and the installation safe for the long haul.
Worth knowing:
- A snug fit on the first tube prevents water from seeping in.
- The outer tube acts like a shield against chewing animals.
If you follow these steps, you’ll have a splice that lasts. Ready to give it a try?
Wire Splice Tutorial: Test Continuity and Polarity With a Multimeter
Ever tried to fix a speaker wire splice and ended up with a dead sound? The first thing you should do is make sure the joint actually conducts before worrying about polarity. Grab a digital multimeter, set it to the continuity beep mode (you’ll see a speaker icon), and touch the probes to the two ends of the splice. If you hear a click, the copper strands are solidly joined, and a resistance reading under 0.1 Ω for a typical 16‑AWG wire tells you the path is low‑impedance—your amp won’t have to work hard.
Next, flip the meter to DC voltage. Place one probe on the positive side and the other on the negative side, then note the polarity. A clear 4‑V drop means the orientation’s right; a reversed reading shows you need to swap the leads. This quick check saves you headaches later and keeps the sound clean.
Frankly, the trick is to do both checks back‑to‑back. First continuity, then voltage—no need to guess which step to skip.
- Set the meter to continuity mode and listen for the beep.
- Verify resistance stays below 0.1 Ω for a clean connection.
- Switch to DC voltage mode and compare the probe readings.
- Look for a 4‑V drop; if it’s negative, flip the leads.
Doing it this way means you won’t waste time on a splice that sounds good but actually has a hidden fault. Your speakers will stay crisp, and the amp won’t strain. Ready to give your wiring a quick sanity check?
Wire Splice Tutorial: Mount the Splice in a Junction Box or Enclosure
Ever had a splice that works but sits out in the open, just waiting for a short? The next step is to tuck it into a proper enclosure. Mounting the joint in a junction box keeps the connection safe from accidental shorts, keeps the wires organized, and satisfies most building codes that demand a fire‑rated, insulated container for any splices.
I usually pick a metal box rated at least 30 °C fire‑resistance, with a ½‑inch knockout for the cable entry. The sturdy walls stop heat from building up, and the grounding screw ties the box to the chassis for safety. For mounting, drill a ¾‑inch hole in the wall stud and secure the box with three #8 screws. That gives a firm hold that won’t vibrate loose.
Enclosure ventilation matters, so I add a ¼‑inch vent slot on the opposite side. It lets any heat escape, keeping the splice cool and cutting the risk of insulation melt‑down. If space is tight, a small PVC enclosure works too—just make sure it’s rated for at least 125 V and includes a vent grille.
Worth knowing:
- Use a metal box with a ½‑inch knockout and a grounding screw.
- Drill a ¾‑inch hole in the stud and fasten with three #8 screws.
This approach gives a tidy, code‑compliant finish that lasts. Got a different enclosure trick that’s worked for you?
Wire Splice Tutorial: Troubleshoot Common Splice Problems and When to Redo
Got a splice that feels loose, sparks, or drops voltage? That’s a red flag you shouldn’t ignore, because it can turn into a fire hazard fast. First, give the connection a quick visual check—make sure each wire is twisted tightly and the crimp looks solid. Then grab a multimeter; any resistance over 0.1 Ω means the joint isn’t tight enough.
Frankly, corrosion is the sneaky culprit that most people miss. Greenish or flaky spots on the terminals boost resistance and heat up under load. If you see that, clean the terminals with a bit of fine‑grit sandpaper or a brass brush before you move on.
Try this: use a 3‑mm crimping tool and a 0.8 mm solder tip to re‑do the splice. A proper crimp and a shiny solder bead give you full coverage and a strong mechanical bond. After you’ve re‑crimped, pull the tester again to confirm continuity, then seal the joint with heat‑shrink tubing.
A clean, solid joint will stop the hiss, buzz, and any fire risk. Keep an eye on the splice after you finish—if it still feels loose or the voltage drops, it’s time to redo it.
Did you know a loose splice can cause intermittent power loss that’s hard to track down? Spotting the problem early saves you a lot of hassle later.
What’s the next step if you’ve checked everything and the splice still misbehaves? Give it another look, and if needed, replace the connector entirely.
Stay safe, and keep those connections tight!
Frequently Asked Questions
Can I Splice Speaker Wire Inside a Wall Without a Junction Box?
About 30% of home wiring failures involve unprotected splices, so I’d say no—you need a junction box for code compliance and to avoid insurance implications, even if it looks tidy.
Will Using a Solder‑Less Connector Affect Audio Quality?
I’ll tell you—using a solder‑less connector can raise contact resistance, which may tint the sound, but if it’s a high‑quality crimp or push‑in type it remains mechanically reliable and usually inaudible.
What Gauge Wire Should I Use for Extending Long Speaker Runs?
I recommend 16‑gauge preference for long runs because its lower resistance keeps cable impedance down, preserving power and tone over distance without sacrificing flexibility or safety.
Is It Safe to Use Electrical Tape as the Sole Insulation?
I’ll tell you straight: electrical tape myths claim it’s enough, but for long‑term durability I rely on heat‑shrink or proper connectors—tape alone won’t protect against heat, moisture, or mechanical wear.
How Many Splice Points Can I Add Before Signal Loss Becomes Noticeable?
I’d say three to four splice points are the practical limit before you notice signal degradation or impedance mismatch, because each joint adds resistance and can upset the line’s overall balance.