I start by snapping a chalk line a foot from any Romex, then pull a string to measure the run and add 5 % slack so the cables don’t stretch, and I space adjustable bridge hangers 12‑16 inches apart to keep the raceway level and secure; I pick PVC for low‑voltage speaker wire up to 12 AWG because it’s easy to cut and non‑conductive, or metal‑clad aluminum for longer runs that need fire‑rating, then I feed the stiffest cables first, lubricate the rest, and maintain a bend radius of at least three times the wire thickness, which prevents kinks and keeps the signal clean; after stripping ¼ inch of insulation I attach banana plugs, tighten to roughly 0.5 Nm, and check polarity with a multimeter, then I snap the click‑lock cover plates flush using a rubber‑mallet, leaving a 1‑mm gap around outlets to avoid drywall damage; these steps give a tidy, durable setup, and the next part shows how to test the system for resistance, latency, and sound quality.
Key Takeaways
- Plan the raceway path, keeping it at least 12 in from any Romex, and snap a chalk line to guide cuts.
- Choose a raceway size at least 25 % larger than the cable bundle diameter and add a 1 cm clearance for easy insertion.
- Install adjustable bridge hangers 12‑16 in apart, level them, and secure with screws before threading cables.
- Thread the stiffest cables first, use a thin lubricant for tight bends, and maintain a bend radius three times the cable thickness.
- Snap click‑lock cover plates flush with a rubber‑mallet after all cables are tucked, then test audio for resistance, latency, and tone quality.
Plan Your Audio Raceway Layout Before Cutting
Ever tried cutting drywall only to discover your raceway hits a Romex pipe you missed? That frustration can be avoided with a quick plan before you grab the saw.
I start by snapping a chalk line and using a level to draw a straight path at least a foot away from any Romex. Then I pull a string to measure the cable length, adding about five percent extra for slack—my little budgeting trick that keeps you from running short on material.
Next, I sketch every turn, junction, and outlet on a piece of paper. I mark where the adjustable bridge hangers will go, spacing them twelve to sixteen inches apart so the raceway stays level and secure.
Here’s the trick:
- Use a chalk line for a clean, straight guide.
- Measure with a string, then add a little extra length.
When you’ve mapped everything, you only cut where you need to, which saves time, money, and keeps the wall solid. This prep step also helps you stay on budget and avoids re‑drilling later.

Frankly, a solid plan makes the whole job smoother and less stressful. You’ll finish faster and with fewer surprises.
Ready to give your drywall a clean, hassle‑free raceway? Give the layout a try and see the difference.
Choose the Right Audio Raceway Type for Your Sound System

Pick the raceway that fits your system’s power and layout, then you’ll avoid the hassle of cramming oversized cables into a tiny channel or leaving a bulky conduit hanging like an eyesore. I start with material selection: PVC is cheap, non‑conductive, and easy to cut, so it works for low‑voltage speaker wire up to 12 AWG, while metal‑clad aluminum offers fire‑rating and can support 14‑AWG speaker cable without sagging over long runs. Next, aesthetic styles matter; surface‑mount raceways come in white, matte black, or brushed steel, letting you blend the wall colour or match modern décor, whereas recessed channels hide everything behind drywall for a clean look. I always measure the cable bundle diameter, add 1 cm clearance, then pick a raceway with an inner width at least 25 % larger to prevent pinching, ensuring easy upgrades later without re‑installing the whole system.
Ever tried to jam a thick bundle into a narrow PVC pipe and felt the wires snag? That’s why you should check the diameter first.
Try this: measure the total bundle, then add a centimeter for wiggle room.
Worth knowing: surface‑mount raceways are quick to install and can be painted to match any wall.
Fair warning: cheap plastic can melt if you run high‑current power cords through it, so stick to low‑voltage speaker wire.

A quick tip for metal‑clad aluminum: it’s a bit heavier, but it holds up better over long spans and won’t sag.
If you’re aiming for a sleek look, recessed channels keep everything hidden, but they do require cutting into drywall.
Overall, pick a raceway that’s a little bigger than you think you need – it saves you from re‑doing the whole job later.
Ready to get your cables organized without the mess?
Install Audio Raceway Tracks and Hangers Safely

Do you ever wrestle with raceway tracks that just won’t stay straight? When you snap those click‑lock channels together and add the adjustable bridge hangers, the base hinges line the track fast, while the top lock keeps it firm, so you won’t be fighting loose pieces later.
I always start with a quick safety check: double‑check that the studs are free of live wires, make sure the drill bit matches the drywall thickness, and keep the raceway at least 12 inches from any Romex. For hanger spacing, aim for 12 to 16 inches between each bridge—this spreads the weight evenly and stops sagging, especially on longer runs.
Try this:
- Pre‑drill pilot holes to avoid cracking thin drywall.
- Secure each hanger with a screw that bites into the stud, keeping the track level and the cables from bouncing around when you plug in your speakers.

Frankly, the key is to keep everything level as you go. A level tool helps you spot any drift early, and tightening the top lock after each hanger adds extra stability. If you rush, you’ll end up with a wobbly setup that can damage both the raceway and the cables.
When you finish, give the whole run a gentle tug to make sure nothing shifts. A solid, level raceway makes it easier to run speakers, TV wires, or any other gear without worrying about future repairs.
Got any other tips for keeping raceways neat? Share them below!
Thread Low‑Voltage Cables Through the Audio Raceway

Ever tried pulling a bunch of low‑voltage cables through a tight audio raceway and ended up with a tangled mess? It’s frustrating, especially when the bigger cables block the way for the thinner speaker wires. Here’s a simple way to keep things moving smoothly.
First, feed the biggest, stiffest cables—like Ethernet and coax—through the raceway. Their larger diameter naturally clears a path, so the smaller speaker wires don’t snag. This trick helps you avoid the dreaded “cable jam” and lets you pull the thinner cords later with far less resistance. Once the big cables are in place, apply a thin coat of cable lubrication to the remaining bundles. Let it slide past any tight corners; the reduced friction also prevents wear.
Honestly, while you’re pulling, pay attention to the bend radius. Keep each turn at least three times the cable’s thickness—about 1 inch for 12‑AWG speaker wire. That way the conductors stay intact and signal loss stays low. Leave a few inches of slack at each outlet, giving you room for future adjustments without straining the wires.
Worth knowing:
- Use a small piece of tape to mark the end of each cable before you start.
- A gentle push with a flexible rod can help guide stubborn sections.
Fair warning: If you force a cable around a tight corner, you risk kinking it, which can degrade performance over time. Take your time, and let the lubrication do the heavy lifting.
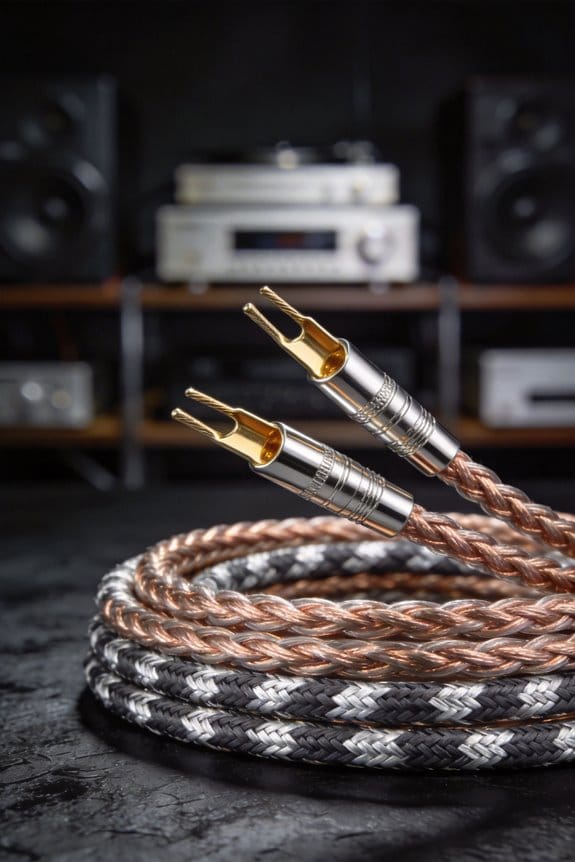
Connect Speaker Wires Using Banana Plugs and Verify Polarity
Ever struggled with speaker cables that keep slipping out or sound that just isn’t as clean as it should be? You’re not alone—getting those low‑voltage wires snug and then wiring up the banana plugs right can make a huge difference.
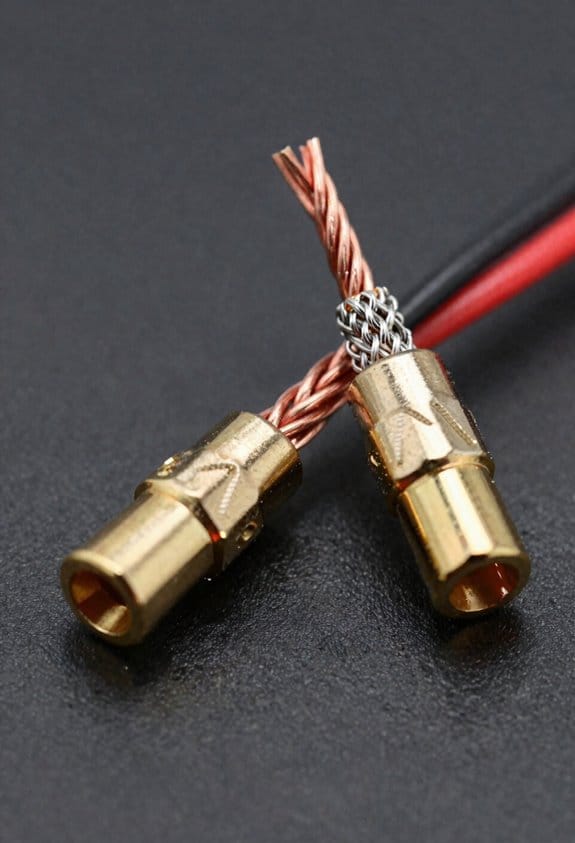
First, strip about a quarter‑inch of insulation off each speaker wire and give the copper a good twist. Press the red plug onto the red terminal and the black onto black, then tighten the set screw to roughly 0.5 Nm. That little torque keeps the contact from loosening later.
Worth knowing: run a quick polarity check with a multimeter or a dedicated tester. You should see about +1.2 V on the red side and –1.2 V on the black side; any reversal will cause phase cancellation and muddy sound.
For long‑term reliability, schedule a quick check every six months. Look for any corrosion, tighten the screws if they feel loose, and give the plugs a wipe‑down. A loose plug can bring in hiss or cause drop‑outs, which is the last thing you want when you’re trying to enjoy music.
If you ever notice a hiss or a sudden drop in volume, it’s probably the plug losing contact. Tightening it back up usually fixes the issue right away.
Frankly, keeping the audio path stable isn’t just about sound quality—it also protects your amp from overheating. A solid connection means the amp stays cool and your listening experience stays crisp.
Try this: after you’ve tightened everything, give the speaker a short test run at low volume before cranking it up. That way you can catch any polarity problems early, without blasting your ears.
What’s the one thing you’ll check first the next time you set up your speakers?
Snap on Cover Plates to Finish the Audio Raceway
Ever tried to get those snap‑on cover plates on a raceway without turning the wall into a mess?
You’ll want to wait until the cables are all tucked in before you start snapping the plates on. The click‑lock design does the work for you, sealing the channels in seconds so the wires stay hidden and dust stays out. Because the screw plates are spaced 12 inches apart, you won’t get any wobble that could loosen the fit later.
Try this:
- Give each plate a gentle tap with a rubber‑mallet so it sits flush.
- Keep a 1‑mm gap around outlets; you won’t have to force anything, which saves time and protects the drywall.
I’m a fan of a paint‑match finish so the plates blend with the wall and you don’t end up with a visual distraction. It’s also a good idea to check the manufacturer’s thermal‑expansion rating—usually about 0.2 % per degree—so the plates won’t warp when the room heats up.
Align each plate, press firmly, and you’ll end up with a raceway that looks clean, durable, and ready for any future tweaks.
Fair warning: if you skip the rubber‑mallet tap, the plates can sit a little off‑center, and that’s when you notice gaps later.
What’s the biggest hassle you’ve faced when finishing a raceway?
Give it a try and see how much smoother the whole process becomes.
Test the Audio Raceway System for Sound Quality
Ever noticed how a new speaker setup can sound a little off, even when everything looks perfect? You’ve probably spent time tightening wires and sealing plates, but a quick listening test can catch hidden loss or buzz before you settle in.
First, grab a multimeter and check resistance across each speaker pair. You should see under 0.2 Ω – that tells you the connections are tight enough to keep the signal clean. Next, play a 1 kHz tone at about 75 dB SPL. Listen for any hum or buzz that might come from stray magnetic fields near power cables. If the sound stays clear and balanced left‑to‑right, the hidden wiring is doing its job.
Frankly, a pink‑noise sweep is the next step. Run it and watch for any dip beyond 0.5 dB; that signals a problem you’ll want to fix. While you’re at it, log latency. Aim for under 1 ms delay, because anything higher can cause audible echo on fast transients. A quick drum‑roll test will reveal any smearing.
Worth knowing:
- Keep your test tone level consistent at 75 dB SPL.
- Use a reliable meter for the resistance check.
After you’ve confirmed the numbers, do a short music playback. Pay attention to the bass and treble balance; any oddness could point back to a loose connection or interference source. If everything sounds smooth, you’ve got a solid, interference‑free raceway.
Now you’re set to enjoy your audio without worrying about hidden issues. Have you tried this quick check on your own setup?
Frequently Asked Questions
Can I Paint Raceway Tracks to Match My Walls?
I tell you, you can paint the raceway tracks, just pick a color‑matching paint and a finish selection that blends with your wall—matte or satin works best, and it’ll hide the wires seamlessly.
Do Raceways Affect Wi‑Fi Signal Strength?
I’ve found that raceways can cause slight signal attenuation if they’re metal‑shielded, but most plastic ones don’t affect Wi‑Fi. Just keep them a few inches away from your router for peak performance.
What Is the Best Way to Remove a Damaged Raceway?
I pull the damaged section out, then replace sections with fresh raceway, cleaning residue from the old clips as I go, ensuring the new piece fits securely and the wall stays smooth.
Can I Use the Same Raceway for Both Power and Audio?
I wouldn’t mix power and audio in the same raceway; safety code separates them, and doing so can create a ground loop that degrades sound and risks fire hazards.
How Do I Prevent Mice From Chewing Cables Inside Raceways?
I keep rodents out by using rodent deterrents like peppermint spray and steel wool, and I wrap the cables in wire sheathing options such as braided metal conduit or PVC sleeves before sealing the raceway.


